Introduction
In the world of web development, encountering complex issues is inevitable. When faced with such challenges, the ability to debug effectively becomes crucial.
Debugging is the art of unraveling these intricate problems, allowing us to gain insights into how our code executes step by step. Through debugging, we can meticulously examine variable values at each stage of execution.
Despite its significance, debugging often remains an overlooked skill among developers. However, mastering this skill can greatly enhance your understanding of your code and improve your overall development proficiency. Relying solely on console.log() statements can be inefficient and time-consuming.
In this blog, we’ll delve into the essential topic of debugging Node.js applications, providing practical insights and techniques to streamline your debugging process.
Step-by-Step Guide to Debug
Step 1: Create a Node.js Application
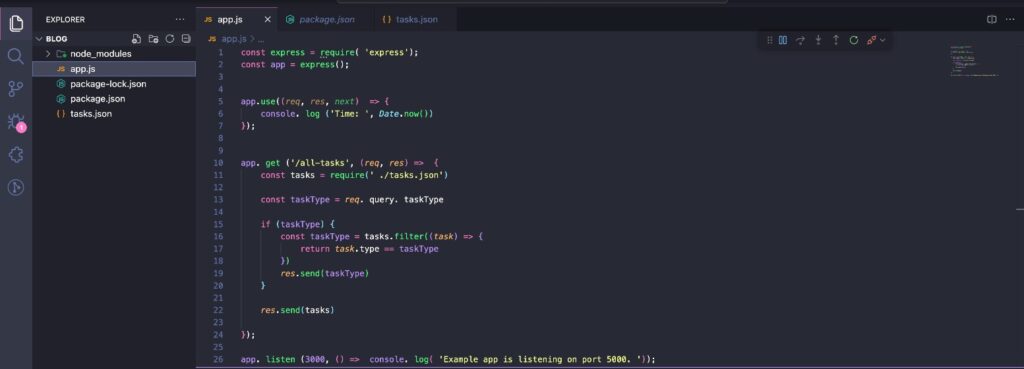
We begin with a basic Node.js application with a single endpoint, and we do some random stuff here. You can use any node.js project.
For now, we have a basic application where we filter objects from an array based on given type in query parameters. Here is our main js file is app.js.
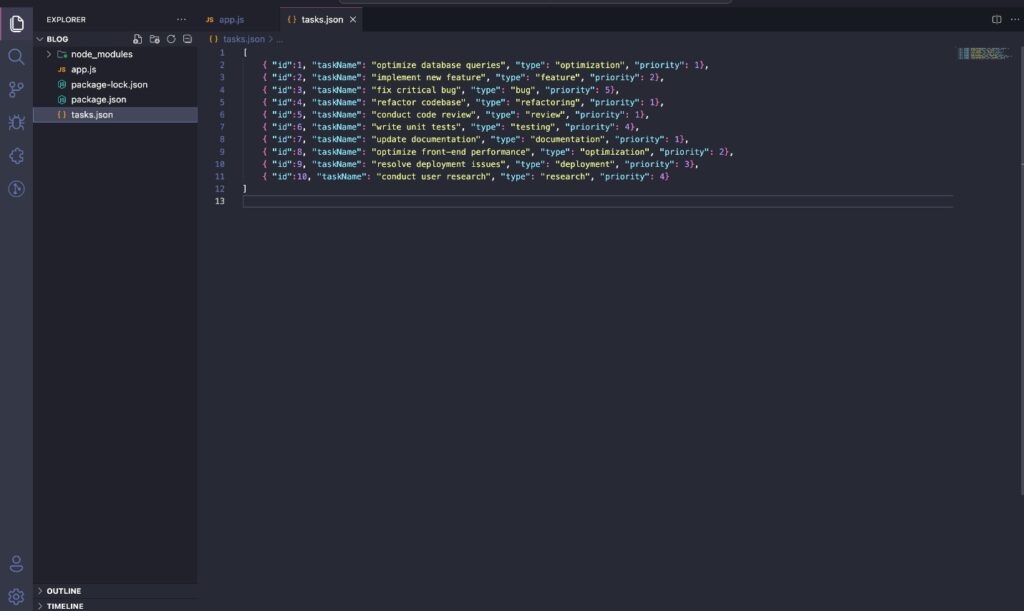
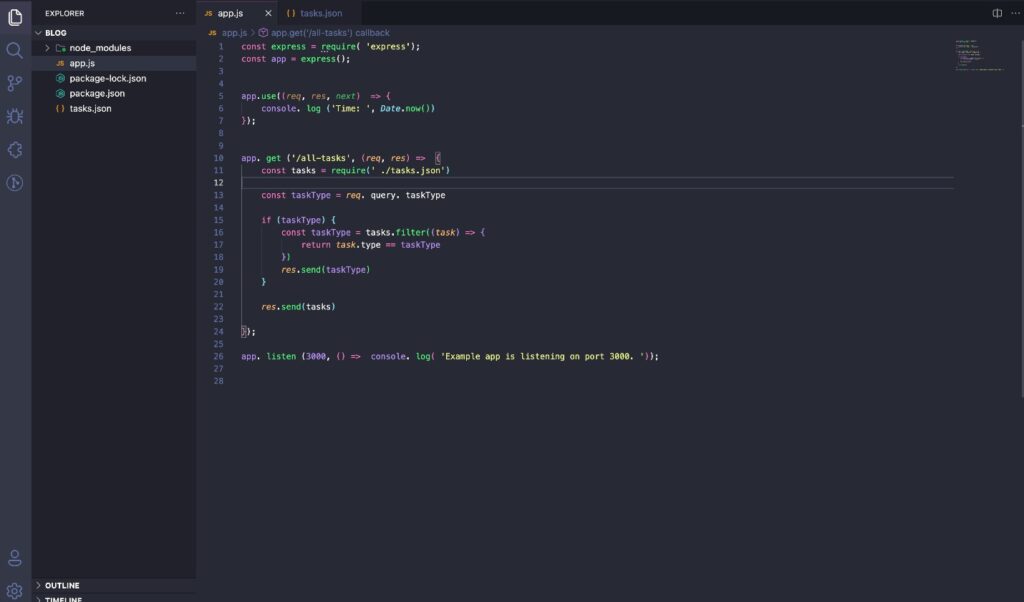
The above express app example is basic, where we’re listing and filtering tasks. The followings are the endpoint to perform this operation.
To fetch all tasks URL– http://localhost:5000/all-tasks
To filter tasks by given type URL– http://localhost:5000/all-%20tasks?taskType=personal
Now let’s continue with the next step for Nodejs debug process.
Step 2: Setup Node.js Debugger With “Nodemon”
We are using nodemon to debug Nodejs application. Let’s install nodemon globally, to install nodemon use this command:
npm install -g nodemon
OR
yarn global add nodemon
Once nodemon is installed, now we need to serve the node.js application with nodemon, and to do that, use this command:
nodemon -L --inspect app.js
Step 3: Start debugger in VS code.
Now it’s time to start the debugger in VScode.
To start the debugger, open the command palette in vscode, and to open it simply press Ctrl + Shift + p in windows or Cmd + Shift + p in macOS. It will open the following section:
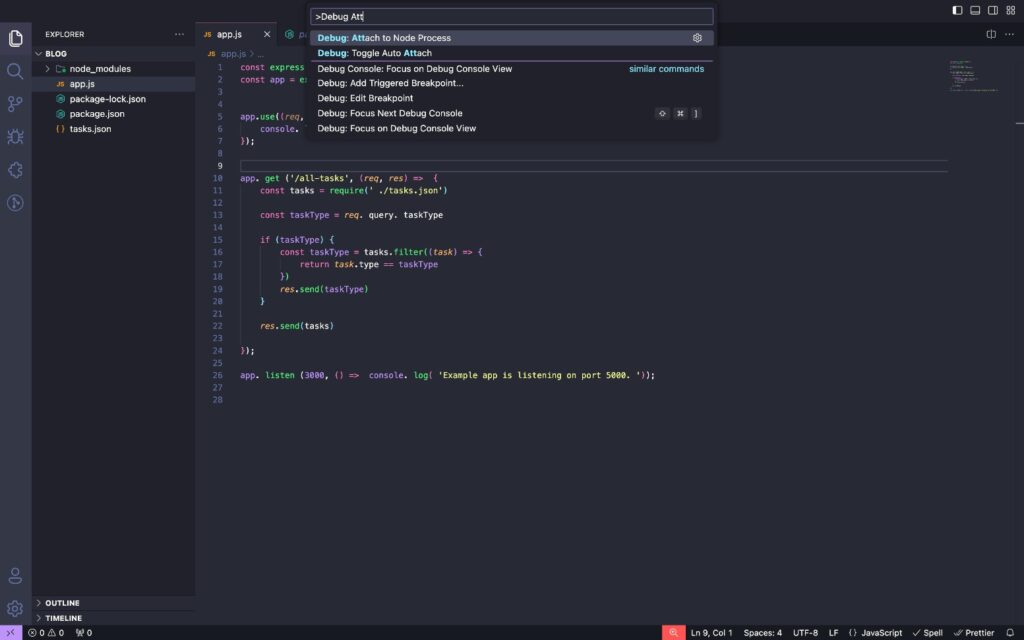
Now simply type “Debug:Attach” and you will see an option for “Debug:Attach Node Process” click on it, and after clicking, you’ll see the following screen:
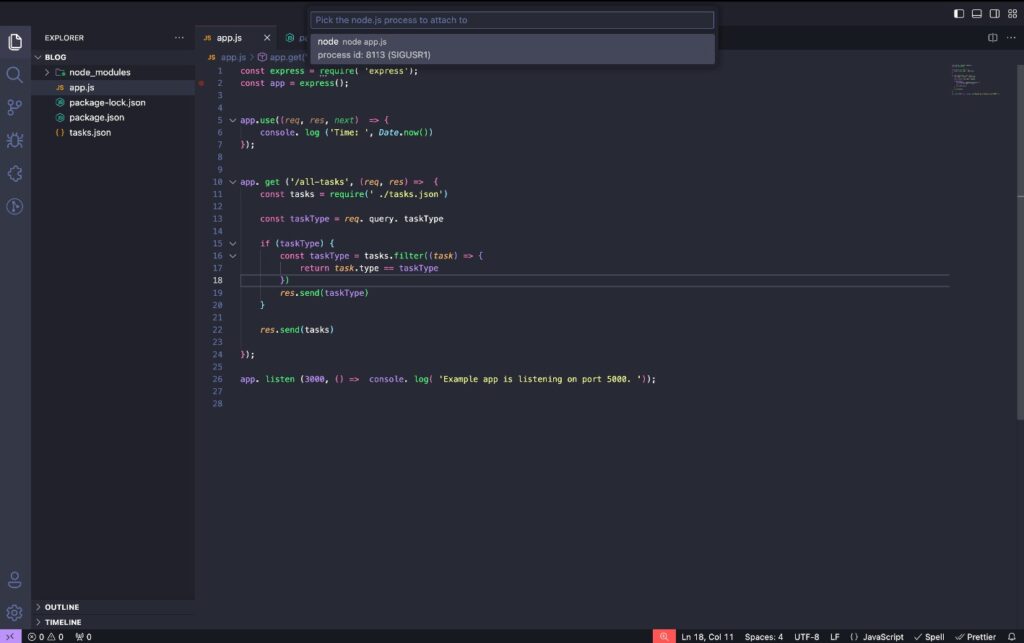
These are just node processes that are running in your system, simply click on the first one, and you will see a debug controller like this:
Here is the explanation of each section.
* Play/Pause: Used for starting and pause debugging.
* Step In: If want to execute instruction line by line then it will help you to execute step-by-step instruction.
* Step into: Let if you are calling a function in between the script then you can simply get into those functions also, it means by this option you can deep down to a function or statement and debug there as well.
* Restart: Restart Debugger from the start or first breakpoint.
* Disconnect: Used to stop debugging.
Breakpoints
Breakpoints are the main entity of debugging; they tail debuggers from where to stop the execution.
By putting breakpoints to your code, you are tailing to a debugger that stops execution here and tails the executed variables value here.
You can apply breakpoints by clicking the left side of the editor (left side of the line number column), Following is a screenshot of some breakpoints.
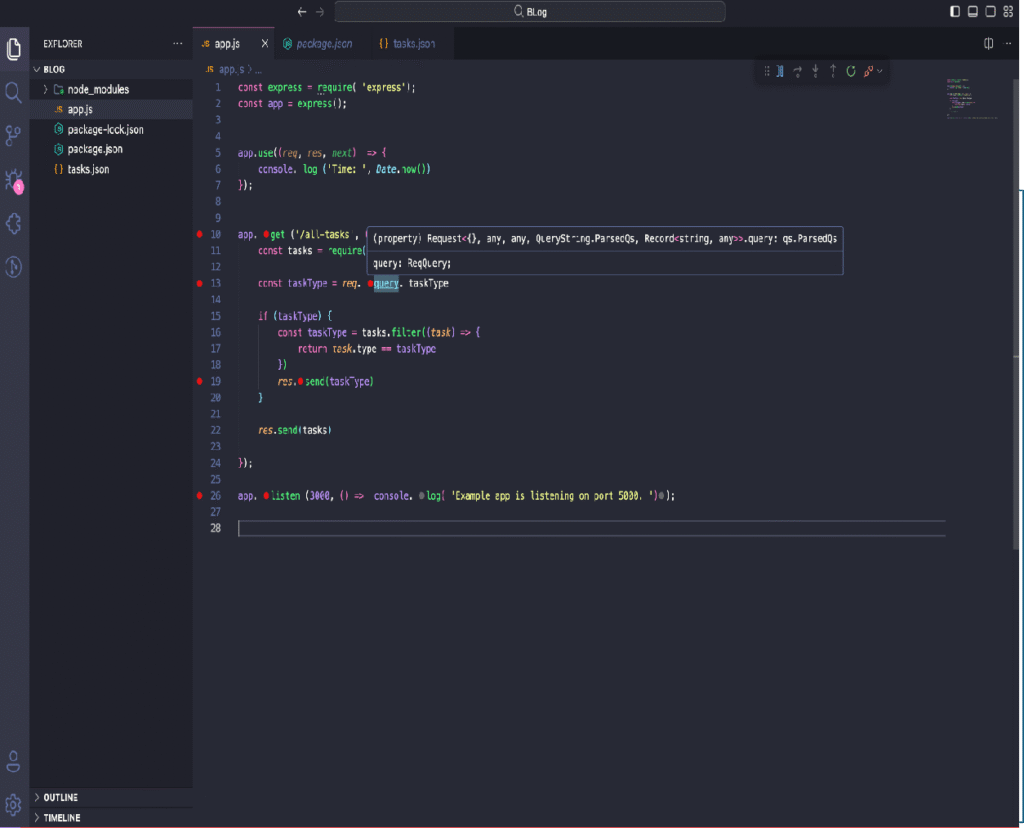
Once you add the breakpoint the execution will stop here, let’s run the debugger now and see how it works.
Step 4: Run Debugger with Breakpoint
Follow Step 2 & Step 3 to turn on the debugger. Once the debugger is active, let’s hit the endpoint by which the code will be executed.
Once you hit the respective endpoint or execution starts for the code section in which you have mentioned the breakpoints, you will see a screen like the following:
This is how it looks when execution stops. This is complete data while executing your code line by line. Let us explain these sections so that you can better understand how to debug Node js application.
-> Variables section: This section shows all the variables used in that code section. You can also see the respective values of that variable. You might see some variables are
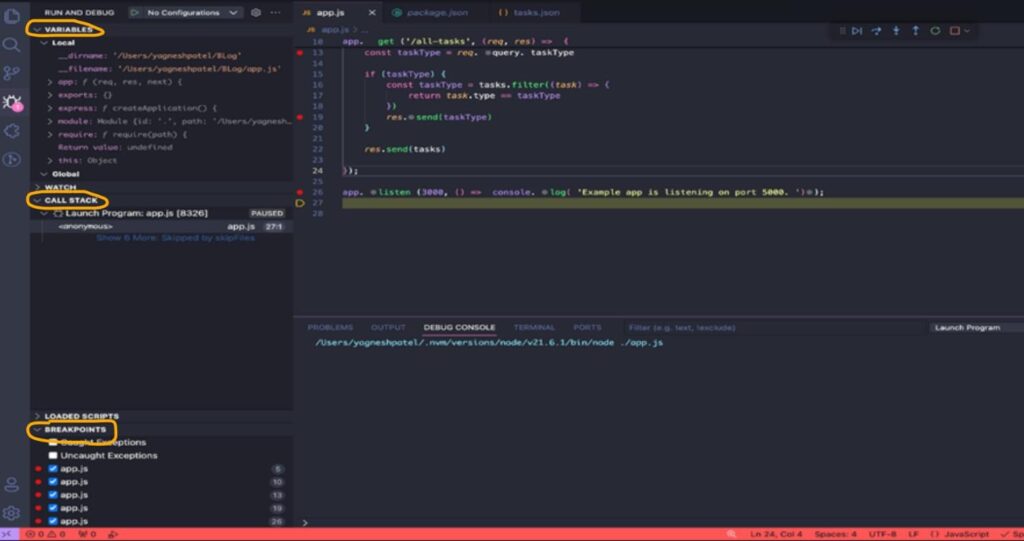
undefined or null it’s because execution has been stopped once the execution for a variable has been finished then you will see the real-time value of that variable.
-> Call Stack: It’s simply a history of all execution, for example, you can see all execution which was done before the current execution.
-> Breakpoints: In this section, you can find all the breakpoints which you have added all over the project, this section manages all breakpoints in a single place.
Conclusion:
In wrapping up this blog, we’ve explored a range of strategies for debugging Node.js applications. By incorporating these insights, you’re equipped to navigate the complexities of debugging with confidence and finesse. Whether it’s pinpointing elusive bugs or optimizing performance, mastering the art of debugging is within your grasp. Armed with these comprehensive approaches, you’re poised to elevate your Node.js development skills to new heights.