
Introduction
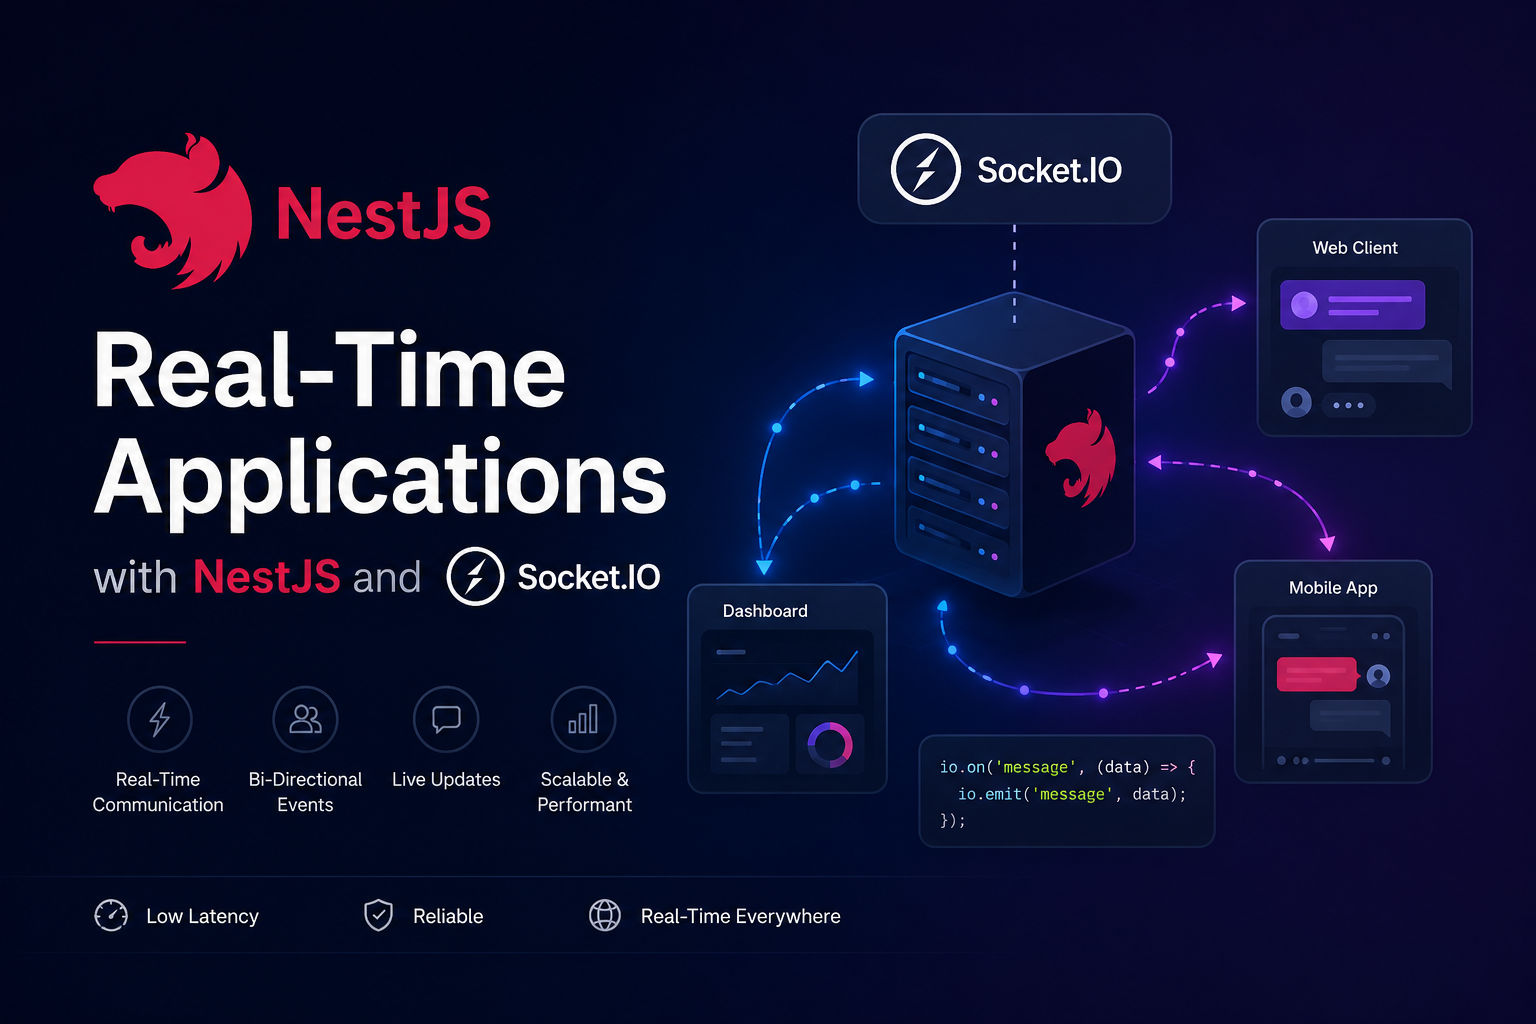
Real-time communication is crucial in applications like chat apps, live notifications, and collaboration tools. Socket.IO is a widely-used library that facilitates real-time, two-way communication between web clients and servers. Nest JS, an advanced Node.js framework, integrates smoothly with Socket.IO, simplifying the process of developing real-time functionalities.
In this guide, we’ll explore how to use Socket.IO with Nest JS to create a simple real-time application.
What is Socket.IO?
Socket.IO is a library that allows you to implement real-time communication between your server and clients. It provides features such as:
- Real-time events (like messages, updates)
- Automatic reconnection
- Cross-platform compatibility (works on browsers and mobile)
Setting Up NestJS with Socket.IO
Let’s walk through setting up a NestJS application with Socket.IO for real-time communication.
Create a New NestJS Application
Then, create a new project:
After installation is complete, navigate to the project and start it:
Install Socket.IO
NestJS has built-in support for WebSockets, but we’ll use Socket.IO for more robust real-time functionality. You can install @nestjs/websockets and socket.io like this:
Create a WebSocket Gateway
Next, we’ll create a gateway that handles WebSocket connections and real-time events.
Use the NestJS CLI to generate the gateway:
This will create a chat.gateway.ts file where we’ll define the WebSocket behavior.
Implement Socket.IO in the Gateway
In the chat.gateway.ts file, we’ll define how the server handles real-time events. Replace the existing code with the following:
Explanation:
- @WebSocketGateway(): This decorator makes the class a WebSocket gateway. We also configure CORS (Cross-Origin Resource Sharing) to allow connections from any origin.
- @WebSocketServer(): This gives access to the underlying Socket.IO server instance so we can emit events.
- @SubscribeMessage(‘sendMessage’): This decorator listens for a sendMessage event from the client. When a message is received, it broadcasts it to all connected clients with the receiveMessage event.
- handleConnection() and handleDisconnect(): These methods are called automatically when a client connects or disconnects from the WebSocket server.
Add the Gateway to the Module
Now, let’s add the ChatGateway to your application module so Nest JS knows to use it.
Open the app.module.ts file and modify it like this:
Now, run the NestJS application to start the WebSocket server.
Using a Node.js Socket.IO Client
At this point, your backend WebSocket server is up and running. You can test it using tools like Socket.IO client in a Node.js environment or Postman.
Install the Socket.IO client:
Create a test script (testClient.js):
Now Run the script:
You should see the following output:
- The client connects to the server.
- The client sends a message: Hello from the client!
- The server broadcasts this message back to the client.
You can also open multiple clients, and they will all receive the broadcast messages from the server.
Remember to customize the event and message handlers in the SocketService and SocketGateway according to your specific requirements.
Conclusions
In this guide, we integrated Socket.IO with NestJS on the backend to enable real-time features. We utilized gateways to manage WebSocket connections, broadcast messages to clients, and handle events such as connection and disconnection.
This backend integration makes it easy to add real-time capabilities to any application, whether it’s a web app, mobile app, or another type of system.
You can create sophisticated real-time systems, like chat applications, notification services, or live updates, by taking advantage of the user-friendly Nest JS framework.